 |
| Two layers of wool tops, chiffon scarf then two more layers of wool tops |
 |
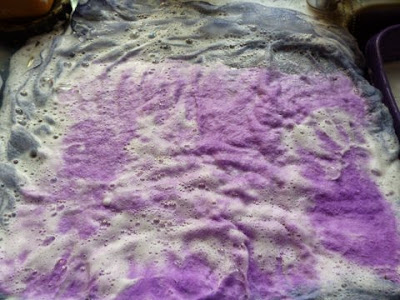
| Washing up liquid and hot water, start rubbing layers to felt |
 |
| Using the wash board to finish off |
 |
| Ironed |
 |
| This is why it's worth the trouble - nuno felt drapes beautifully |
Wanting to see the difference for myself I pulled out two layers of wool tops (looks like candy floss) on the kitchen sink metal draining board. Then laid a chiffon scarf over the top and pulled out two more layers of wool tops - each layer at right angles to the previous layer.
I squirted on washing up liquid then poured on hot water and started carefully pushing the layers into one another. As the material started to thicken into felt under my fingers I rubbed it more roughly. And kept turning it over. Because I wanted the layers to felt through the chiffon - especially round the edges I used the wash board but a wash board isn't necessary, you can just use the ridges on the draining board. When satisfied the piece was well felted I rinsed it well.
Then I ironed the felt on both sides. Again, not necessary, but I wanted quick results! (Don't let the iron touch the chiffon!
Then I saw how well the nuno felt draped over my arm compared to a normal piece of handmade felt. Many felters use silk instead of chiffon to create nuno felt. That will be experiment number two. Comparing chiffon nuno with silk nuno.
No comments:
Post a Comment